In today’s world, there are many businessmen, Artist, Bloggers and Entrepreneur running their websites by Web hosting companies.
But What if they want to run it on their own without paying any companies. Okay now for instance have you ever wanted to have a web page where you can access your music library or photos and you or your friends can download them.
But If you want to take control of your server completely, modify it anytime then you can give it a try to create your own server for yourself. But you might be thinking, how to create your own server at home for web hosting? See, it’s not that easy to create a server if you don’t know the process and technical knowledge which is needed the most.
So if you still want to take a step ahead and dedicate yourself to create your own server at home for web hosting then you are at the right place. I’m going to guide you from the beginning to make this easy for you. So let’s get started with how to make your own server at home for web hosting?
- How to create your own server at home for web hosting
- Do You Have The Resources?
- Components of a Web Server
- Managing Web Server Components
- Choose Your Operating System: Linux or Windows?
- Set up Your Domain Name and Check It Works
- Step #1: Install Web Stack:
- Step #2: Upload Files and Contents to Your Server:
- Step #3: Create a MySQL Database:
- Step #4: How to Access Your Website:
- Step #5: Get a Domain Name for Your Site
- Is Your Connection Suited for Hosting?
- Why should I use an external server for my web server instead of a computer in my house?
- Conclusion
How to create your own server at home for web hosting
There are many aspects to look at before you start creating your own server at home for web hosting. You need to know from the resources, the process and how you access it after creating the server.
Do You Have The Resources?
So the very most important thing is having a PC and after that, you need a high-speed internet connection. Now if you are creating your server for business purposes or you want to keep it alive for 24 hours then you’ll also need a 24hr power supply to run the pc nonstop.
And now the thing is your pc should have some basic specifications to run the server smoothly.
It should come with –
- At least 2GB of RAM.
- 60 GB SSD/HDD
- Dual-core CPU with 2.0GHZ clock speed.
- A Windows or Linux OS is recommended.
You can use a low-end PC to host your server but the more powerful the pc is, the website runs more smoothly. If you have loads of content on your website then you have to use a high-end pc.
Components of a Web Server
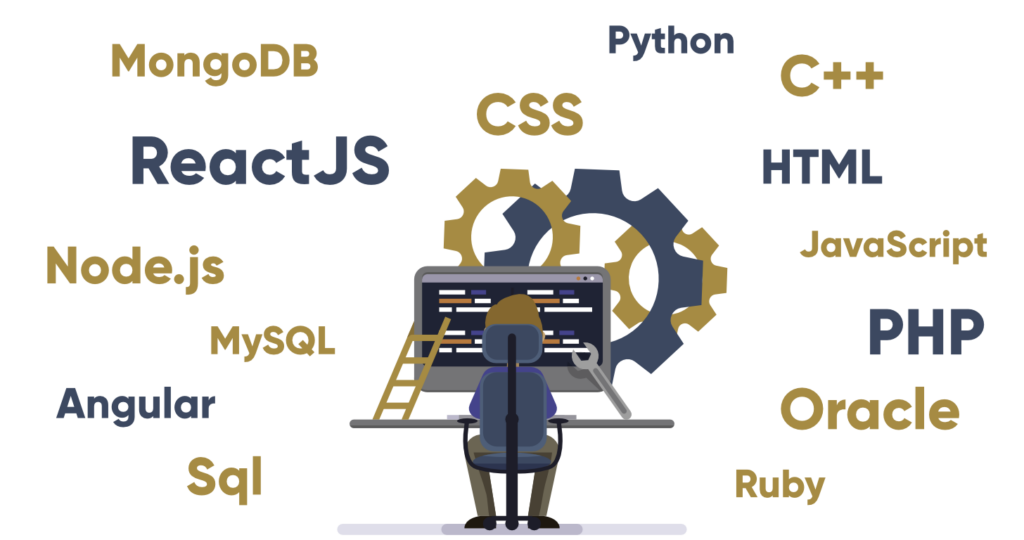
A web server basically has 4 components- Operating system, Web server, Database and Scripting language.
- A web server operating system also called server OS is an operating system that runs on servers. There are mainly 2 web servers operating os: Windows, Linux.
“Centos and Ubuntu” which are Linux based os are considered to be some of the best server OS.
- The primary function of a web server is to store, process and deliver to clients.
It is responsible for accepting directory requests from internet users and sending them the requested information. Apache, IIS, and NGINX are some popular web servers.
- The database is stored information. When you run a web server the database server searches, sorts and filters and shows the information of user asked web requests.
There are many database servers out there such as Oracle, MySQL, Microsoft SQL, Redis.
- A scripting language is basically a programming language. It’s basically used to run commands automatically. It basically does all the tasks and connects the User web page to the server page. Some of the most popular scripting languages are JAVA, PHP, Ruby, Python
Managing Web Server Components
Web server mainly has 4 components – Operating system, Web server, Database and a Scripting language.
Firstly you install the operating system on your computer, So when you install the Windows operating system, there comes a combination like WAMP – Windows as operating system, Apache as a Web server, MySQL database and Php as a scripting language.
When you use the Linux operating system the best combination is LAMP – Linux, Apache, MySQL, Php.
Choose Your Operating System: Linux or Windows?
To host your own server to host your website at home, Windows and Linux are the most used OS servers all over the world.
But which one should you consider for your own web server? If we take a look at the market share perspectives then Linux is far more in the world than Microsoft windows. Linux is used by 54% of websites where Windows is used by 34%.
If we see the security side then Linux has a reputation of being more reliable and secure than windows.
Now come to third party applications. Windows allows you to install a wide range of third party applications while in Linux only administrators can install very few third-party software.
Windows comes with easy automatic updates where the Linux update process can be complex.
In Microsoft, you’ll see security errors more often while Linux does create these types of errors that much.
Now If we talk about having your own home server as a beginner the Linux operating systems does not charge anything while Microsoft charges you high licensing cost for users.
Set up Your Domain Name and Check It Works
The whole internet is covered with an IP address, which is a number that represents a computer that runs the server. The IP address looks like 655.12.6. It’s too hectic to remember this bunch of numbers to visit your favourite website.
So, The domain name came to fix this which can be a combination of alphabets or numbers that is easy to remember.
But remember domain name is one most important things to get your website to succeed. There are many websites that provide many domain names or let you create one at a minimum cost.
You should always choose a domain name related to your business type, company’s name. You should also create a domain name that is easy to remember and does not include too many numbers which can make it hard for the users.
After you create your domain name it should take 24-72 hours to be functional.
Minimum System Requirement
So when you are creating your webserver at home then you need to know the minimum system required to run your server.
Your pc should have some basic specifications to run the server smoothly. It should come with –
- At least 2GB of RAM.
- 60 GB SSD/HDD
- Dual-core CPU with 2.0GHZ clock speed.
- A Windows or Linux OS is recommended.
Now I’ll tell you how to create your own server at home for web hosting step by step.
Step #1: Install Web Stack:
A web stack is a collection of software required for web development. There are many web stacks available in the market such as Apache, Bitnami, IIS etc.
One of the most popular web stacks that are used for hosting is Apache. So we’ll be using a web stack that has an apache server in it.
First, you have to download the file from Apache Lounge then after downloading you have to unzip the file and install it.
You might need to enter an SMTP server name so enter “LOCALHOST” as the server name and boom you’ve downloaded your web stack.
Step #2: Upload Files and Contents to Your Server:
When you’ve installed the web stack and successfully created your website, You have to upload files ( content for the website. ex. Photo, video, docs etc).
The easiest way to upload your content is using an FTP ( File transfer protocol). One of the most popular FTP is Filezilla.
After you install the FTP you have to log in there. After logging in you have to connect the server to your FTP and you can access your local file and upload them to your website.
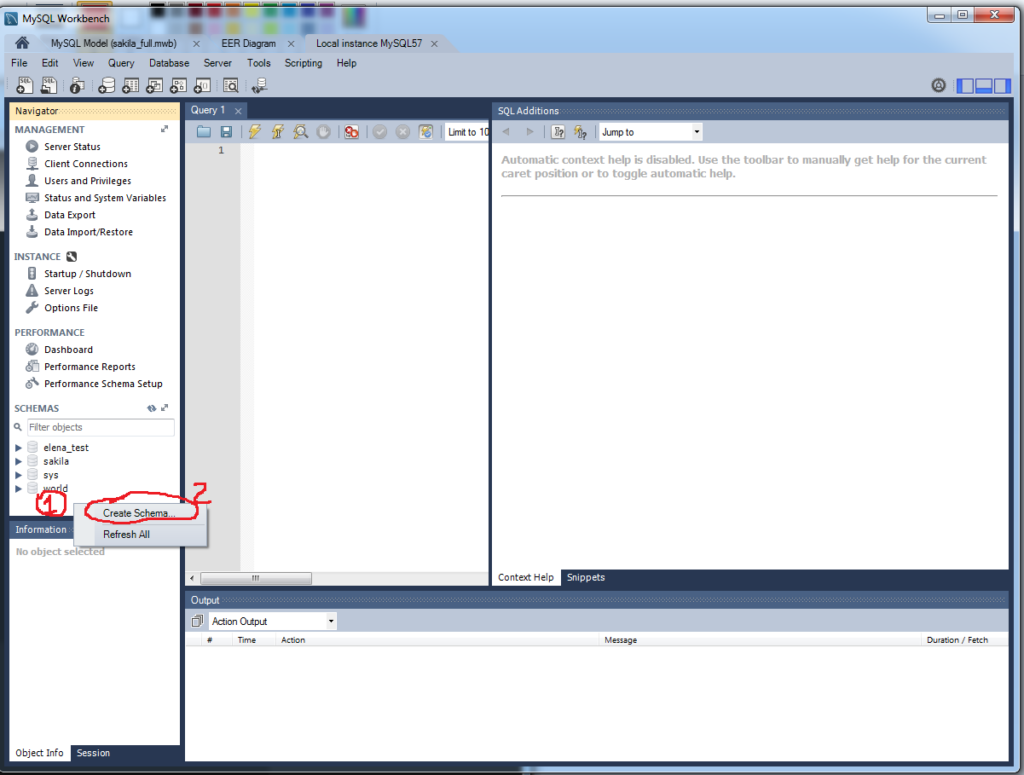
Step #3: Create a MySQL Database:
You will need to create a database for your own server. MYSQL databases can be created in many ways and it depends on webstack.
First, you have to go to the main menu of your web server and click on the ‘phpMyAdmin’ option, Then you have to login.
Type ‘root’ in the username and keep the password box empty now you’ll get access to the ‘phpMyAdmin’ menu. Now you can create, modify or delete old SQL databases from your server.
One more thing to add on, if you already have a CMS (Content management system) like WordPress, Joomla on your server then the SQL databases will be created automatically.
Step #4: How to Access Your Website:
After completing the configuration of your website you have to make it available for visiting.
First, your website is only accessible to you until you make it public by yourself.
To visit your website from your local computer you have to go to http://localhost from your browser.
After that, you’ve to find httpd.conf folder from apache option which will show you a code line –
Order Deny/ Allow

Deny from all
Now you have to change the code line to –
Order Allow/ Deny

Allow from all.
That’s it. Now anyone can access your website from anywhere.
Step #5: Get a Domain Name for Your Site
Now you have created the website and you have given access to everyone to visit your server.
Your website will be an IP( Internet Protocol) address that looks like this 123.1.2.3 and you’ll never want to visit your site with these numbers so you have to add a domain name to your website.
There are many websites that will give you a domain name for your website. So after purchasing a domain name for yourself you have to add this to your webserver.
Is Your Connection Suited for Hosting?
First, you should know What is the purpose of the website?
If you have really fewer visitors to your page then normal high-speed internet will be alright but the connection should be dedicated to the Hosting pc.
But as you’ll get more visitors eventually and it’ll consume more data and you’ll need to upgrade your connection by spending an extra penny.
Why should I use an external server for my web server instead of a computer in my house?
Hosting your own web server gives you control over your website but it’s not as easy as it looks.
When you host your website at home first you’ll need to purchase a tool that can be expensive where you can get a hosting service at a cheaper cost monthly.
When you host a website it gets more popular day by day. It will consume more storage so you have to upgrade the server.
Now if you are hosting on your own imagine Buying a disk space, to upgrade your connection, and many configurations which will take a few days.
Now if you are hosting it by an external web host, you just need to upgrade the plan and it will get updated very fast.
When you are hosting a server at home there’ll be more susceptible to failure due to forces of nature like Power outages.
In case you don’t have a backup power source your server will be offline where the external host will cover these issues easily as they guarantee you a certain uptime.
There can be many issues with backups when more storage will be consumed. Backup plans are also not free and you will end up paying back up charges.
So as you see hosting a server at home gives you more control but also costs you more and also it’s tough to maintain it where external hosting is a lot easier.
Conclusion
So now you know how to create your own server at home for web hosting? You see it’s not impossible to create a server at home, but it’s not too easy. You need to have all the hardware and internet connection and the most important thing is you should have experience or knowledge.
Now you also know the advantages and the disadvantages of hosting your own server at home. When you are hosting your server you are the one who is responsible for any issues or damages.
You have to deal with more visitors, power outages, content management etc.
So as long as you are okay with all of these issues then you can host your own server at home for web hosting. Otherwise, it’s recommended to get an external web host as per your need. Till then all the best!


